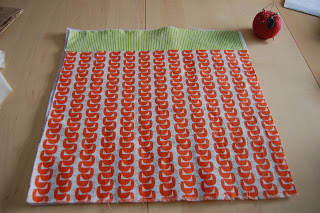
Step One: Cut material to desired size. I used a fat quarter for the body, and a striped remnant for the topper (stitched together). For this wall hanging, I cut a piece of old acrylic blanket as a filler, and muslin for the backing. You could also use quilt batting, or fuse an interfacing to the wrong side of the front fabric.
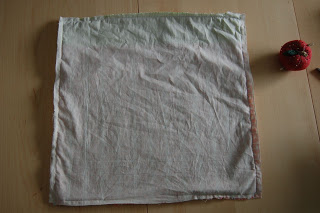
Step two: Place right sides together and sew around the edges, leaving a space for turning. Since I was using the blanket batting, made that the bottom layer, so it would end up as the middle layer when turned.
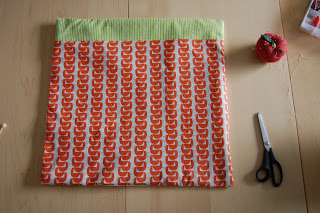
Step Three: Turn right side out, press and sew seam closed.
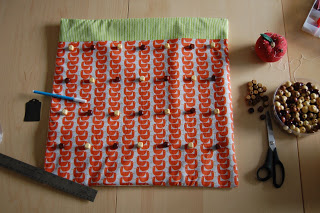
Step Four: Decide on what to use for "hooks" to hang your tags. I chose large beads, figuring they would be easy for little hands to slip tags over. If I were to o this project again, I would use my original idea, buttons. The buttons have a greater area around the point of attachment with which to support the string for the tag. Since my beads are sewn side to side, the tag kind of drapes around it and has a tendency to fall off more easily. Attaching the bead through the center with a french knot (more like sewing on a button) would also be a better choice. Oh well, live and learn.
I measured out the spacing for the beads (this would depend on the size of your chart and the size of tags you are going to hang from it) and marked it with a water soluble fabric pen. Finally, I stitched on the beads.
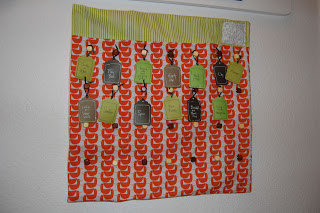
Step Five: Using scraps of scrapbook paper, I punched out tags and labeled them with activities my kids can do when they are board to earn extra Disney dollars. Of course you could also use pre-made tags, but this was a great way to use some of my paper stash.I also added a pocket at the top to hold the tags we remove when we use it as a vacation count down chart (see this post). It could be a calendar, chore chart, reward chart... whatever you (or your kids) can come up with!

